
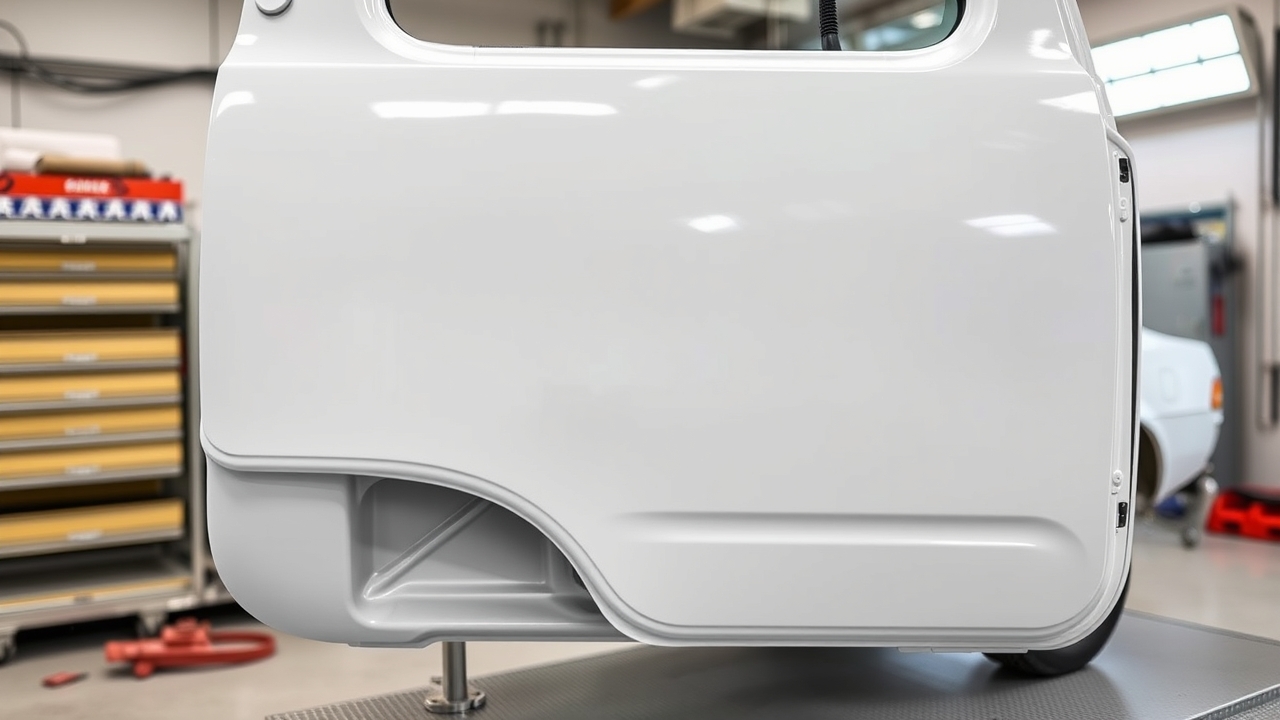
When you pull old vinyl off a truck door or van panel, what you find underneath can range from perfect paint to a faded ghost of the original color. Whether you need to repaint after vinyl removing vinyl decals safely depends on how long the vinyl was on, what the surrounding paint looks like, and what you plan to do with the vehicle next. This guide walks through what to expect and how to handle every scenario.
What to Expect Under Old Vinyl
Vinyl acts as a UV shield. The paint underneath a long-term decal or graphic is often in better condition than the paint around it. The problem is the difference in oxidation, fading, and UV weathering between the protected area and the surrounding surface. After 5 or more years, that difference can be significant.
Under 3 Years
Most vehicles look nearly identical under and around short-term vinyl. Light machine polishing (a DA polisher with a light cutting compound) usually blends the transition enough that no one notices. This is the best-case scenario.
3 to 7 Years
Some difference in sheen and color depth is common. The protected area may look richer and more vibrant. A good detailing session with compound, polish, and wax across the full panel can minimize the contrast. Panel repainting is often not necessary if the original paint was in good condition before the vinyl went on.
7-Plus Years
The surrounding paint has typically oxidized noticeably. The contrast between protected and unprotected areas is usually visible from several feet. Full panel repainting is often the cleanest solution, particularly if the vehicle is being rebranded or sold.
Surface Prep Steps Before Painting
Rushing surface prep is how you end up with paint that peels within a year. Get this right and the new paint lasts.
Step 1: Remove All Adhesive Residue
No adhesive residue removal should remain on the surface before any primer or paint is applied. Residue prevents paint from bonding and can cause fish-eye defects in the new finish. See our guide on adhesive remover products for vinyl for product recommendations and technique.
Step 2: Clean with Wax and Grease Remover
After adhesive cleanup, wipe the entire panel with a dedicated wax and grease remover (not just IPA). Products like SEM Solve, PPG DX-330, or 3M General Purpose Adhesive Cleaner remove silicone and oil contamination that causes paint defects. Use clean folded rags and wipe in one direction to avoid redepositing contamination.
Step 3: Sand to Establish Profile
For bare metal or fiberglass, start with 80-grit to remove rust or prior paint, then work up to 180-grit before primer. For repainting over existing paint, 400-grit scuff over the panel is typically sufficient to give the new paint something to grip. Feather the edges of any chipped or damaged areas to prevent raised outlines showing through the new paint.
Step 4: Apply Appropriate Primer
Bare metal needs an etching primer (self-etching) before body primer. Over sanded existing paint, a urethane primer-surfacer is standard. Apply in thin coats, allow proper flash time between coats, and block sand with 400-grit before topcoat. This step fills micro-scratches and creates an even base for color.
When Repainting Is Necessary vs. Optional
Repainting Is Necessary When:
- Vinyl removal lifted clearcoat or paint (this can happen on repainted panels or panels with pre-existing clearcoat failure)
- The panel shows rust, bare metal, or primer exposed under the old vinyl
- Color mismatch after vinyl removal is too severe to correct with polishing
- The vehicle is being sold or placed into service for a new company requiring a clean, branded appearance
- The underlying paint was already failing before vinyl was applied (old repaint work that was used as a shortcut)
Repainting Is Optional When:
- The faded contrast will be covered by new vinyl lettering or graphics (new decals cover the ghost outline)
- The protected area and surrounding paint are within 1 to 2 shade levels of each other
- The vehicle is primarily a work truck where appearance is secondary to function
- Machine polishing fully blends the two areas to a satisfactory result
Color Matching After Vinyl Removal
Color matching a repainted panel to existing factory paint is the most technically challenging part of this job. Factory paint codes help but rarely produce a perfect match, especially on older vehicles where the surrounding paint has years of UV weathering.
Getting the Paint Code
Most automotive paint codes are on a sticker inside the driver’s door jamb, in the engine bay, or under the hood on a firewall tag. The code format varies by manufacturer. Once you have it, your local auto paint supplier (Sherwin-Williams Automotive, NAPA, Auto Paint Specialists) can mix a quart of single-stage or base/clear formula.
Blending to the Surrounding Panel
Professional painters rarely shoot a panel in isolation. They blend the new paint into adjacent panels (front quarter panel through door, or door through rear quarter) so the color transition happens in an area that’s harder to see. This technique hides metameric mismatch (colors that match in one light but differ in another).
When to Use a Full Panel Respray
If the vinyl removal affected the entire door, a full door respray is usually cleaner than a spot repair. Blending a spot repair on a solid-color vehicle is straightforward. On metallic or pearl colors, blending is harder because metallic flake direction and orientation affects appearance.
Alternatives to Full Repaint
Repainting isn’t always the right call. Here are alternatives that work in the right situations.
Apply New Vinyl Directly Over the Ghost
If the new vinyl lettering or graphic is large enough to cover the adhesive ghost area, you don’t need to repaint. New lettering applied over a slightly different color zone under it is invisible. This works well when you’re adding new company branding to a re-lettered fleet truck.
See our vinyl lettering builder to spec out replacement lettering sized to your panel dimensions.
Machine Polishing
A dual-action polisher with a medium cutting compound can remove 1 to 2 years of UV oxidation from the surrounding paint, bringing it closer to the protected paint color underneath the old vinyl. Not a perfect fix for large color differences, but works well for moderate fading.
Vinyl Wrap Over Affected Area
If one door or panel looks noticeably different after vinyl removal, wrapping that panel in a matching color (or a contrasting accent color as a design choice) covers the issue without a paint job. This is a common approach on fleet vehicles.
Frequently Asked Questions
Will removing vinyl damage the paint underneath?
Not if the vinyl is removed correctly. Using a heat gun vinyl removal gun at the right temperature (250 to 350 degrees F for automotive clearcoat) and vinyl peeling early at a low angle protects the clearcoat. Risks increase when vinyl has been on for 8-plus years (adhesive gets brittle), when the paint was already failing, or when metal scrapers are used instead of plastic. A properly done removal leaves paint intact.
My truck has a faded rectangle where the old vinyl was. Do I need to repaint?
Not necessarily. The rectangle is protected original paint surrounded by faded paint. Machine polishing with a light cutting compound on the surrounding area can often reduce the contrast significantly. If the difference is subtle after polishing, covering with new vinyl handles the rest. Full repaint is only needed if the contrast is dramatic or the vehicle is being sold.
Can I paint over the adhesive ghost without sanding?
No. Painting over adhesive residue causes adhesion failure and fish-eye defects in the new paint. All adhesive must be removed, the surface cleaned with wax and grease remover, and then scuffed or primed before new paint goes on. Shortcuts here result in paint that peels within months.
How much does repainting a truck door cost after vinyl removal?
A professional single-panel respray (one door) at a body shop typically runs $300 to $800 depending on paint type and local labor rates. Metallic and pearl colors cost more due to blending requirements. A full vehicle respray if multiple panels are affected runs $1,500 to $5,000 or more at a quality shop.
Can I apply new vinyl over the area where old vinyl was removed?
Yes, provided all adhesive residue is removed and the surface is clean. The slight color difference from UV protection doesn’t affect vinyl adhesion. Many fleet operators apply new lettering directly over the cleaned area without any paint work, especially when the new graphics cover the transition zone.
How do I know if my vinyl removal damaged the clearcoat?
Run your fingernail across the edge of the area. If you feel a noticeable step or ledge at the border of where the vinyl was, the clearcoat may have vinyl lifting at edgesed with the vinyl. Visual signs include dull, chalky-looking patches or areas where the paint looks etched or rough. Those areas need primer and repaint before new vinyl will adhere properly.
Next Steps
Once your surface is clean and prepped (or repainted), Hoosier Decal is ready to help with your next set of vinyl graphics. We’ve been cutting professional vinyl lettering in Indiana since 2003, shipping to contractors, fleets, and boat owners across all 50 states. Design your replacement lettering at our vinyl lettering tool, or upload your fleet artwork at our artwork upload page for a custom quote.
