
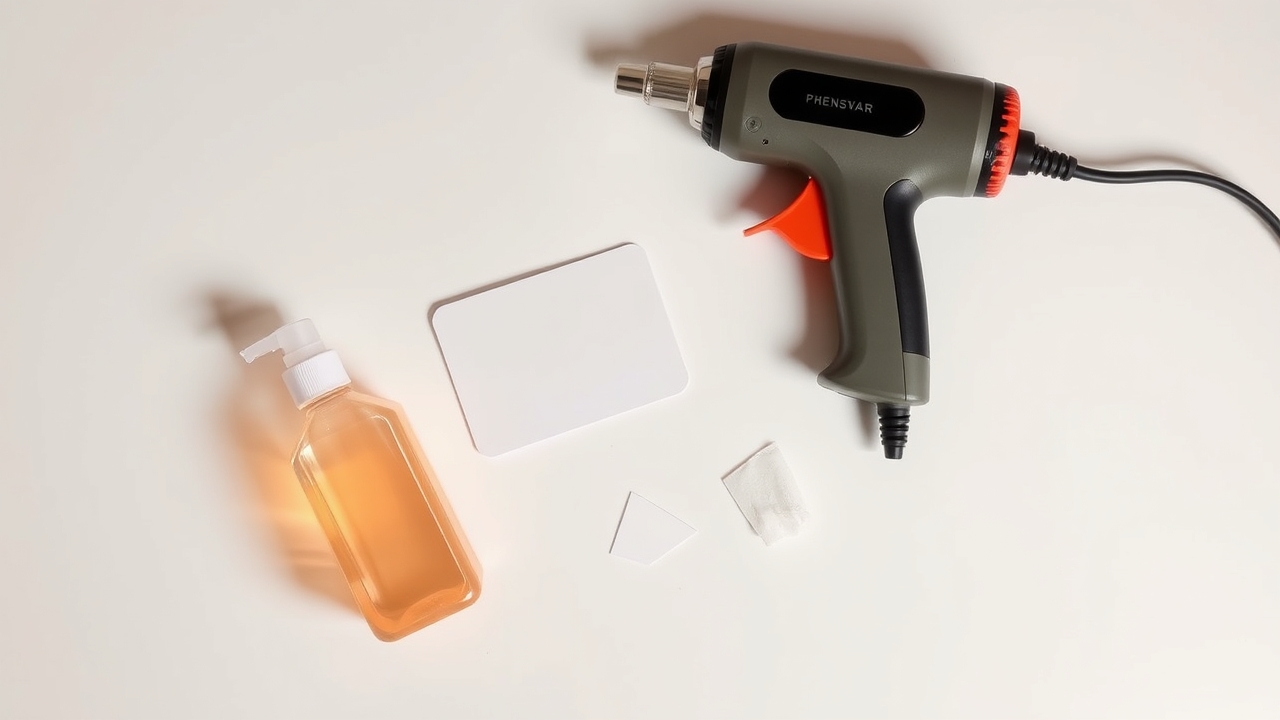
Old vinyl gets brittle, cracks, and seems impossible to vinyl peeling early, but with the right heat gun vinyl removal and solvents, almost any decal lifts cleanly without harming repainting after vinyl removal, gel-coat, or glass underneath. This guide covers the full removal process, including the adhesive remover products adhesive residue removal cleanup most DIY tutorials skip.
Tools You’ll Need
- Heat gun OR a hair dryer on high (heat gun is faster but riskier)
- Plastic razor blade or plastic scraper (NEVER metal: it gouges paint)
- Adhesive remover. Goo Gone, 3M Adhesive Remover, or Rapid Remover
- Microfiber towels (3 or 4; they get gummy)
- Mild car soap and water for final wash
- Wax or sealant to restore the area after cleanup
Age of the Decal Changes Everything
| Decal age | Difficulty | Approach |
|---|---|---|
| Under 2 years | Easy | Heat + peel; minimal residue |
| 2–5 years | Moderate | Heat + peel; expect adhesive residue |
| 5–10 years | Hard | Heat thoroughly; vinyl may break into pieces; heavy residue cleanup |
| 10+ years (sun-baked) | Very hard | Vinyl shatters into chips; expect 2–3 hours per decal |
Old decals on south-facing surfaces (driver door on a north-facing parked truck) are usually the hardest. UV breaks down the vinyl topcoat first, leaving the adhesive bonded harder to the paint than to the vinyl above it.
The Heat Method (Foundation of Every Removal)
Heat softens the adhesive. Without it, you’ll either tear the vinyl into 100 small pieces or pull paint off with the decal. Aim for 120–160°F at the surface.
- Hold the heat gun 6–8 inches from the decal. Move it constantly, never let it sit on one spot.
- Warm a corner for 20–30 seconds until the vinyl feels warm but not blistering.
- Test by lifting the corner with a fingernail or plastic blade. If it lifts smoothly, the temperature is right.
- If the vinyl is sticking hard, heat for another 15 seconds. If it’s chip-cracking, reduce heat, you’ve gone too hot.
On hot summer days, parking the vehicle in direct sun for 30 minutes before starting can do half the work for you.
Peeling Technique
- Start at a corner. Use a plastic blade to lift just the edge.
- Pinch the lifted corner between thumb and finger.
- Pull at a 180° angle back across the decal, folding it over itself, not pulling away from the surface. This is the single biggest technique difference between clean removal and a paint disaster.
- Pull slowly and steadily, applying the heat gun to the line where vinyl meets surface as you peel.
- If the vinyl breaks, restart from the new edge with heat. Brittle vinyl will break, expect it on old decals.
Removing the Adhesive Residue
Once the vinyl is gone, you’ll usually have a layer of gummy adhesive left. This is normal.
- Apply adhesive remover (Goo Gone, 3M, Rapid Remover) to a microfiber, not directly to the surface.
- Lay the soaked microfiber over the residue for 60–90 seconds, let the chemistry work.
- Wipe in small circles. Repeat with a clean section of cloth.
- For stubborn residue, use a plastic blade at a low angle; never a metal scraper.
- Once clean, wash the area with mild car soap and water to remove the solvent residue.
- Dry, then re-apply wax or sealant. The adhesive remover strips wax along with the glue.
Protecting Paint and Finish
- Never use a metal blade. Even careful razors gouge clear-coat.
- Avoid acetone and lacquer thinner. They dissolve clear-coat and matte vinyl wraps. Stick to citrus-based or 3M-branded removers.
- Keep the heat moving. Stationary heat will blister paint, especially on hoods and roofs that already run hot.
- Test in a hidden spot first. Older or repainted vehicles sometimes have soft paint that lifts with heat alone.
- Re-wax after cleanup. The bare paint underneath the decal has been protected from UV and will fade differently if left untreated.
FAQ
Can I use a regular hair dryer instead of a heat gun?
Yes for fresh decals (under 3 years). For older decals, a heat gun is much faster, a hair dryer may not reach the 120°F needed to soften aged adhesive.
Will WD-40 work as adhesive remover?
It softens adhesive, yes: but it leaves an oily film that interferes with re-decaling and is hard to wash off. Use a dedicated adhesive remover.
What about removing decals from glass?
Glass is the easiest surface. A plastic blade and Goo Gone work without heat. You can also use a metal razor on glass (carefully, low angle), but never on tinted windows.
Decal left a “ghost” on the paint; can I fix it?
That’s a UV-fade outline where the decal protected paint from sun while the surrounding area faded. Compound or polish the surrounding area, then wax. Heavy fade may need a body shop.
How long does removal take?
Fresh decals: 5–10 minutes. Aged 5+ years: 30–90 minutes including residue cleanup. Sun-baked 10+ year decals: 2–3 hours.
