
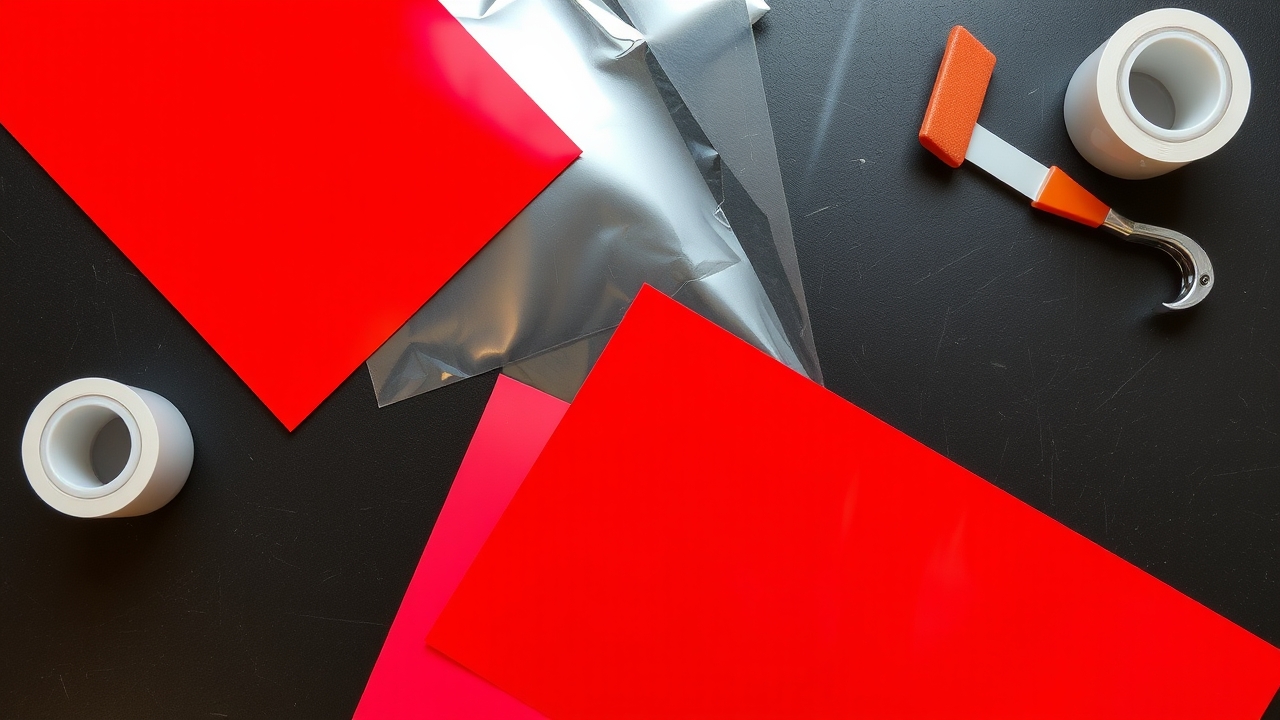
Reflective vinyl behaves differently than standard cast or calendared vinyl during installation. The bead or prismatic layer is thicker, less conformable, and shows squeegee marks more easily. Here’s how to install reflective decals so they look clean on day one and still reflect five years from now.
About Reflective Vinyl
Reflective vinyl uses one of two technologies to bounce headlights back at the driver:
- Glass-bead (engineer-grade) — tiny glass spheres embedded in a top resin. Most common. ~5–7 year outdoor life.
- Prismatic (high-intensity / diamond-grade) — micro-mirror prisms. Brighter at distance. Used on highway signs and emergency vehicles.
Both are thicker (5–7 mil) than standard cast (2 mil). That thickness affects how it conforms to curves and how aggressively you need to squeegee.
Tools You’ll Need
- Reflective decal sheet with transfer tape
- Felt-edged squeegee (the felt is critical, bare plastic scratches the reflective topcoat)
- Masking tape
- Tape measure
- 70% isopropyl alcohol + clean microfiber
- Spray bottle with distilled water + dish soap (for the wet method)
- Heat gun or hair dryer (for curved or textured surfaces)
Surface Prep
- Wash the surface with mild soap and rinse thoroughly.
- Dry completely. Reflective vinyl traps water more visibly than clear vinyl; water under the decal looks like dark spots.
- Wipe with isopropyl alcohol on a clean microfiber.
- Surface temperature should be 65–85°F. Reflective vinyl is stiffer in cold and won’t bend over panel curves.
Installation Steps
Flat surfaces (door panels, boat transoms, mailboxes)
- Hold the decal in place and use masking tape as a top-edge alignment guide.
- Tape across the top of the decal, this becomes the hinge.
- Lift the bottom of the decal up, peel the paper backing off slowly at a sharp angle.
- Lower the decal back down from the hinge.
- Squeegee firmly with the felt edge from the center outward, slightly overlapping passes.
- Apply more pressure than you would with standard vinyl, the thicker reflective layer needs it to seat.
- Peel the transfer tape at a sharp 180° angle.
Curved surfaces (helmets, ATV fenders, motorcycle tanks)
- Use the wet method only, gives you repositioning time.
- Pre-warm the decal with a hair dryer to make it more pliable (15 seconds).
- Apply, then squeegee, then lightly heat with the dryer to relax the vinyl into the curve.
- Re-squeegee while warm. The reflective layer will set into the curve.
- Allow to cool fully before peeling transfer tape.
Tips Specific to Reflective Vinyl
- Use the felt edge of the squeegee, not bare plastic. Reflective topcoat scratches and the bead layer dulls under bare-plastic friction.
- Squeegee pressure higher. Aim for firmer pressure; the thicker vinyl needs it to bond.
- Avoid stretching. Reflective vinyl tears or distorts the bead layer if stretched. Pre-warm and conform; don’t pull.
- Air bubbles are more visible. Take time to squeegee out every bubble; reflective trapped air shows as dark blotches at night.
- Edge sealer. For boats and outdoor commercial vehicles, an edge sealer (3M Edge Sealer 3950) extends life by 1–2 years.
- Test reflectivity at night before going public. Park near another vehicle’s headlights and check the read distance. If it’s not bright, the decal is dirty, the surface had wax, or the squeegee didn’t seat the bead layer fully.
Long-Term Care
- Hand-wash with mild soap; avoid abrasive brushes that scuff the bead layer.
- Pressure washing is OK after 7 days, but keep the wand 12+ inches from the decal and at a low angle.
- Avoid waxing directly over reflective vinyl, wax fills the bead spaces and dulls reflectivity.
- Replace the decal once you notice a measurable drop in night brightness (typically year 5–7).
FAQ
Can I install reflective vinyl over old paint?
Yes, as long as the paint is in good condition (no flaking, no oxidation). Old, oxidized paint should be cleaned with a polishing compound first.
Why does my reflective decal look dim during the day?
Reflective vinyl is designed to look subtle in daylight and bright at night. That’s normal. If it looks bright in daylight, you’re probably looking at a metallic or chrome vinyl, not a true reflective.
Can reflective decals be used on boat hulls below the waterline?
No. Constant water exposure breaks down the bead layer. Use reflective above the waterline only.
Do reflective USDOT decals satisfy FMCSA?
Yes — as long as the daytime contrast still passes (49 CFR 390.21 requires sharp daylight contrast, separately from any reflective property).
