
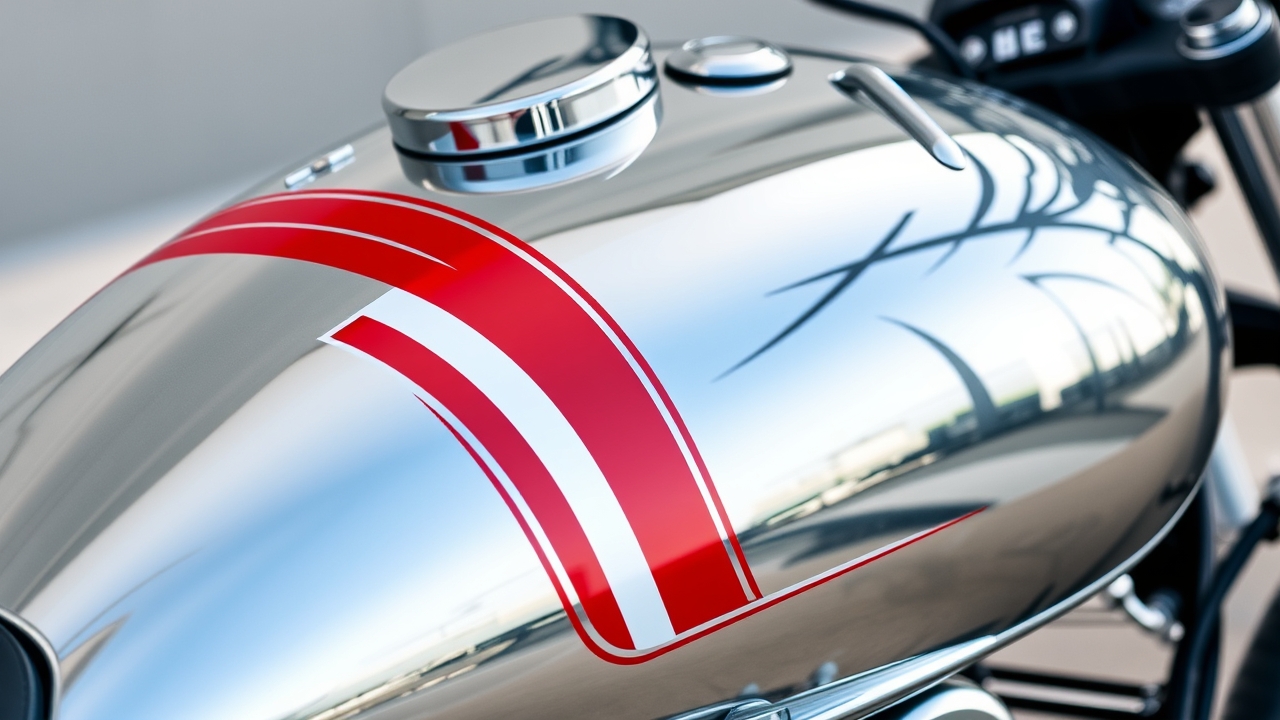
Custom motorcycle decals let you personalize a bike without permanent paint modifications. Whether you want pinstripes on a tank, a club logo on a fender, or number plates on a dirt bike, precision-cut premium vinyl options or digitally printed graphics give results that rival factory graphics at a fraction of the cost.
Types of Custom Motorcycle Decals
Not all motorcycle decals are the same product. The three main types differ in construction, appearance, and how they age on a bike that sees sun, rain, and occasional track days.
Cut Vinyl Lettering and Pinstripes
Cut vinyl is single-color vinyl weeded into letters, numbers, or shapes. No background panel, no carrier film visible from the side. Pinstripes, tank emblems, and simple logos are natural applications. Oracal 751 cast vs calendered vinyl in a 2-mil thickness is the right choice for curved gas tanks: it conforms without wrinkling and lasts 7 to 9 years outdoors. We have cut pinstripes as thin as 0.125 inches for custom tank work.
Digitally Printed Motorcycle Decals
Full-color logos, flame graphics, tribal art, and custom photographic effects require digital printing on a white vinyl substrate, then laminated with a clear overlaminate rated for outdoor exposure. We print to Oracal 3165RA or a comparable cast print media depending on the application. Laminated prints on tanks hold up to fuel splash, vinyl fading from sun, and washing for 5 to 7 years with proper care.
Reflective Motorcycle Decals
3M Scotchlite and similar reflective vinyl applications films work well on helmets, fairings, and saddlebags. At night, a reflective strip or logo on a helmet is visible at 500 feet in headlights. Many riders add small reflective accents on the rear fender or tail section for visibility without disrupting the bike’s look during the day.
Choosing the Right Material
Motorcycle surfaces are more demanding than flat van doors. Gas tanks curve in two directions, fenders flex, fairings have compound curves, and fuel and cleaning solvents contact surfaces regularly. Here is how to pick the right film.
| Surface | Recommended Film | Why |
|---|---|---|
| Gas tank (curved) | Oracal 751 cast vinyl | Conforms to compound curves without lifting edges |
| Flat fender panels | Oracal 651 calendered vinyl | Cost-effective for flatter surfaces, 5-7 year life |
| Fairing (painted plastic) | Oracal 751 or 3M Scotchcal 3630 | Cast film flexes with plastic without cracking |
| Helmet | 3M Scotchcal or reflective film | Adheres to textured clear coat, safety-visible |
| Chrome surfaces | Cast vinyl with solvent-based adhesive | Standard adhesive fails on non-porous chrome |
If you are unsure what finish complements your bike’s paint, our matte vs. gloss vinyl guide breaks down when each finish makes sense visually and functionally.
Placement Guide for Motorcycle Decals
Placement is where most DIY motorcycle decal jobs go wrong. A 2-inch misalignment on a tank looks worse than no decal at all. Here is the process we recommend.
Centering on a Gas Tank
Find the center line of the tank by measuring from the filler cap to the front of the tank and marking a temporary center line with masking tape. Use this line as your horizontal reference. For left/right positioning on the sides, measure from the tank seam down to where you want the decal to sit, and mark both sides at the same measurement before applying.
Number Plates on Dirt Bikes
Motocross number plates are typically flat polypropylene panels. They take standard calendered vinyl well. AMA-legal number backgrounds are white with black numbers for most classes, though club and regional rules vary. Letters are typically 4 inches tall on the front plate. We cut number sets in AMA-standard heights on request.
Fender Stripes and Tail Graphics
Thin stripes (0.25 to 0.5 inch) running front-to-rear on a fender look best when they follow the fender’s body line rather than cutting across it. Pre-cut striping tape with a wet application method helps here: apply with soapy water, squeegee, let dry overnight before peeling the tape carrier.
Applying Decals to a Gas Tank
Gas tanks are the trickiest motorcycle surface because of compound curves and fuel exposure near the cap. Do this in the right order and the decal stays put through seasons of riding.
- Empty the tank or at least avoid applying decals within 2 inches of the filler cap where fuel condensation is highest.
- Clean with isopropyl alcohol and let dry 10 minutes. Do not use wax or polish before applying.
- Work in a warm garage (65 to 80 degrees F). Cold tanks make vinyl stiff and slow-conforming.
- Hinge method: tape the top edge of the decal to the tank with masking tape, flip up the backing, remove it, and lower the decal into position from the hinge point down.
- Use a hard squeegee to press from center outward in overlapping strokes.
- On curves where the vinyl wants to pucker, use a heat gun on low and stretch the vinyl slightly while pressing.
- Let the adhesive cure 24 hours before washing or riding in rain.
See our full vinyl application guide for squeegee technique and heat gun settings that apply to most vehicle surfaces including tanks.
Removing Old Motorcycle Decals Without Damage
Old decals and stickers on painted plastic fairings or metal tanks can be removed without scratching if you take your time. Heat is the key: a hair dryer or heat gun on the lowest setting softens the adhesive so the vinyl peels cleanly.
Work at a low angle (15 to 20 degrees) rather than pulling straight up. Straight-up removal tears the vinyl and leaves adhesive behind. Once the vinyl is off, any remaining adhesive residue dissolves with a few minutes of soaking under a rag wet with Goo Gone or isopropyl alcohol.
On gel-coat painted tanks or factory clear coat, test a small spot with Goo Gone first. Most modern clear coats tolerate it, but heavily weathered paint can absorb the solvent. When in doubt, use plain isopropyl alcohol at 90% concentration: it cuts adhesive residue without damaging clear coat.
Frequently Asked Questions
Will vinyl motorcycle decals damage my tank’s paint when removed?
Properly applied and properly removed vinyl does not damage clear coat in good condition. The risk goes up with decals left on for many years, especially in extreme UV climates: the paint under the decal weathers differently than the exposed paint, leaving a ghost outline. Remove decals with gentle heat (not high heat), peel at a low angle, and clean residue with isopropyl alcohol rather than harsh solvents.
Can you match my bike’s factory color scheme for replacement decals?
Yes. We can color-match to Pantone, RAL, or specific Oracal color codes. For factory OEM color matching, send us a paint code or a small sample swatch and we will select the closest vinyl color. For digitally printed decals that replicate factory graphics, send reference photos and we will design to match. We have done replacement graphics for older Kawasakis, Hondas, and other bikes whose original decal sets are no longer available from dealers.
How small can you cut motorcycle decals?
Our cutter handles detail down to about 0.1-inch stroke width. For fine text, 0.25-inch letter heights are practical minimums for cut vinyl. Below that, small counters and fine serifs do not weed cleanly. For very small logos or text under 0.25 inches, digital printing on a clear background is a better option than cut vinyl.
Are your decals fuel-resistant for use near the tank cap?
Cast vinyl with solvent-based adhesive (Oracal 751, 3M Scotchcal) is fuel-resistant once cured. Avoid placing decals directly over the filler cap where fuel drips constantly. For areas that occasionally see fuel splash during filling, cast vinyl holds up fine. Calendered vinyl with water-based adhesive is less fuel-tolerant and should stay at least 2 inches from fuel contact zones.
Do you sell helmet decals?
Yes. Helmet decals need to adhere to textured clear coat surfaces. We use 3M Scotchcal or similar films with aggressive adhesive for helmets. Note that adding vinyl to a DOT or Snell-certified helmet does not void the certification unless you alter the shell itself. Standard surface-applied vinyl decals are cosmetic only and do not affect certification.
Next Steps
Build your custom motorcycle decals using our vinyl lettering tool for cut text, numbers, and simple shapes. For custom logos, pinstripe designs, or full-color graphics, upload your artwork file and we will cut or print to your specifications. Most single-bike decal orders ship within 1 to 2 business days from our Indiana shop.
